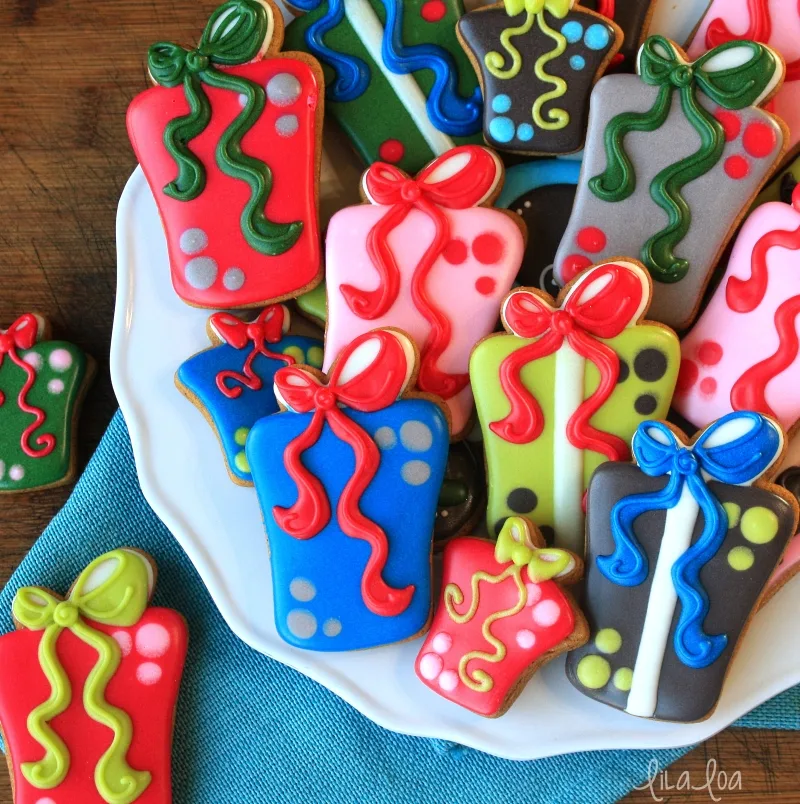
Use this cookie decorating tutorial to learn how to make present or gift sugar cookies!
Tell me if you've heard this story before. A cookie decorator eats Thanksgiving dinner with her family...falls asleep...dreams about making cookies nonstop and never sleeping for an entire month. Then wakes up and realizes it WASN'T a dream (except the part about riding the sparkly unicorn...that part was definitely a dream) and she has exactly 4 days left until Christmas.
I also realized I still have 3 sets of Christmas cookies I haven't posted and a handful of tutorials that I haven't even started editing. And you know why?
Seriously... I was kind of hoping that one of you did because I can't figure out why I do this to myself every single year. In my head, December goes like this -- Week 1, Week 2, Week that I make up to make myself feel better about how much I have to do and how little time I have to do it, Week 3, Christmas.
But as it turns out...that week between Week 2 and Week 3?
It DOESN'T EXIST.
Who knew?!
So now I'm left with two choices. I can post all my cookies and tutorials in a crazy 48 hour cookie decorating marathon weekend...
Or not.
If we're being completely honest...I'm probably going to post a tutorial or two and then halfway edit the rest of them and pretend that I'm just "saving" them for next Christmas...but really my laptop is going to try to eat itself sometime next spring and everything will be lost to the abyss of cookie time and these cookies will never see the light of the internet day... all because I legit can't figure out how to work a calendar.
Sorry guys. That one's on me
But...here's ONE tutorial that made it through. THIS one won't be forgotten. NOT TODAY.
(On an unrelated note, yes...yes I will be taking a nap after this. And I will not be driving heavy machinery at any point until that happens.)
How to Make Present Decorated Sugar Cookies
Step 1.
Outline and flood the bottom part of the gift with a medium consistency light pink icing. Immediately add dots of dark pink icing in the corners. Allow to dry for at least 4 hours to avoid color bleed.Step 2.
Fill in the rest of the cookie with a medium consistency white icing. Let dry for an hour.Step 3.
Use a #1.5 tip to pipe the bows. Start by piping a teardrop shape for the opening and then pipe the bottom curve of the bow and fill in. Let dry for 15 minutes.Step 4.
Add the ribbon tails with the same icing. Wait five minutes and add a small circle of icing to the center of the bow. Let dry for another 15 minutes.Step 5.
Add detail lines to the bow, ribbon and knot with the same dark pink icing and #1.5 tip.
NEED MORE??
Grab the cutters: Large Gift, Small Gift, Large Circle Ornament, Small Circle Ornament, and Fancy Ornament.


