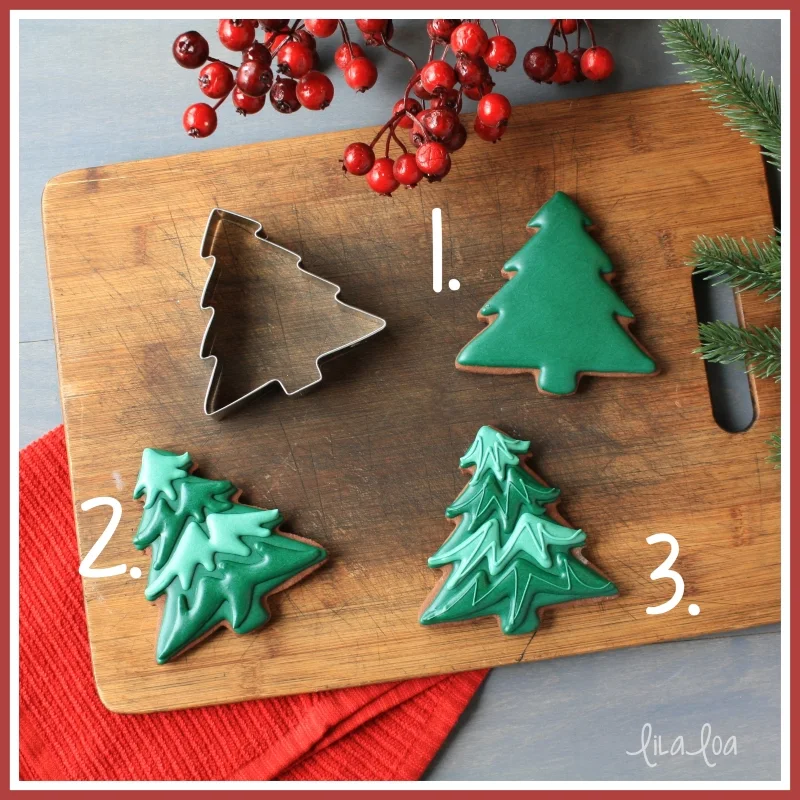
Learn how to make some whimsical Christmas tree decorated sugar cookies with this royal icing cookie decorating tutorial!!
Sometimes I calculate my designs.
Not like...mathematically.
And definitely not like some unfeeling villain-type that is about to break some poor sweet girl's heart.
I don't *think* I'm a villain-type. And you can totally ask my husband - I definitely have ALL THE FEELINGS...usually all in the same day even. I think sometimes I break some poor girl's heart though.
But it's usually my own.
Because I make bad life choices like watching "just one more" show about a girl returning to her hometown after a sad break up/life experience/... (actually those are the only two options) and finding love in an unexpected place.
That's definitely NOT what is happening with my cookies.
None of that.
What I meant... before you so rudely allowed me to continue to go on and on and on....
Sometimes I plan my cookies. I sketch the outline of the cutter shape and then draw some possibilities and then pick my favorite and make that.
But these cookies... were not that.
And they definitely weren't a love story.
Or a broken heart.
I baked the cookies and made a ton of icing and decorated. And there were some really, REALLY weird cookies in the mix. But these trees. They aren't at all the type of cookie I might have planned. But - oh my goodness - they are JUST the kind of cookie that I wanted in my life without even knowing it.
Yeesh.
You know... maybe these cookies ARE a little bit like those love stories. They found love in an unexpected cookie design. I literally just made the Hallmark version of a cookie design.
I actually can't tell if that feels weird or satisfying.
I think maybe we should just decorate some cookies. Are you with me?
How to make Christmas tree decorated sugar cookies:
Step 1.
With a medium consistency green royal icing and a #3 tip or opening, outline and fill the entire sugar cookie. Let the royal icing dry for at least 15 minutes.
Step 2.
Starting at the bottom of the tree, pipe zig-zaggy pine bough shapes on top of the green royal icing base. You can make them all the same color of royal icing, or you can switch it up and use all sorts of colors. I mean... I'd probably stick to some kind of color scheme, but Imma let you do you on this one.
Try to follow the outside edges of the cookie as much as possible to help pull all those zig-zags together. Allow space between the boughs so the bottom royal icing color shows through.
Let the Christmas tree cookie dry for another 15 minutes.
Step 3.
With a medium consistency royal icing and a #1 size tip or opening, add detail lines on top of each pine bough. (That's just a fancy way of saying add more zig-zags on top of your other zig-zags.)
I found it looked best when I used the same color for the top zig-zag as I used for the bottom zig-zag -- dark green on dark green, red on red...etc.
See it all come together in this zig-zaggy Christmas tree sugar cookie decorating video tutorial.
NEED MORE??
Or get just the cutters you need: Christmas tree and Christmas ornament.
See how I made the ornament cookies here!


