Are you excited? It's the square Halloween cookie tutorials series finale. Anything could happen! I could magically whip up a million cookies and stack them to the moon and then light them on fire and call them a beacon of peace. Or ... not. Actually, that doesn't really sound like a good idea to me at all. I'll probably just stick with the remaining tutorials and call it a day. Ready?
HOW TO MAKE A SQUARE CANDY CORN COOKIE
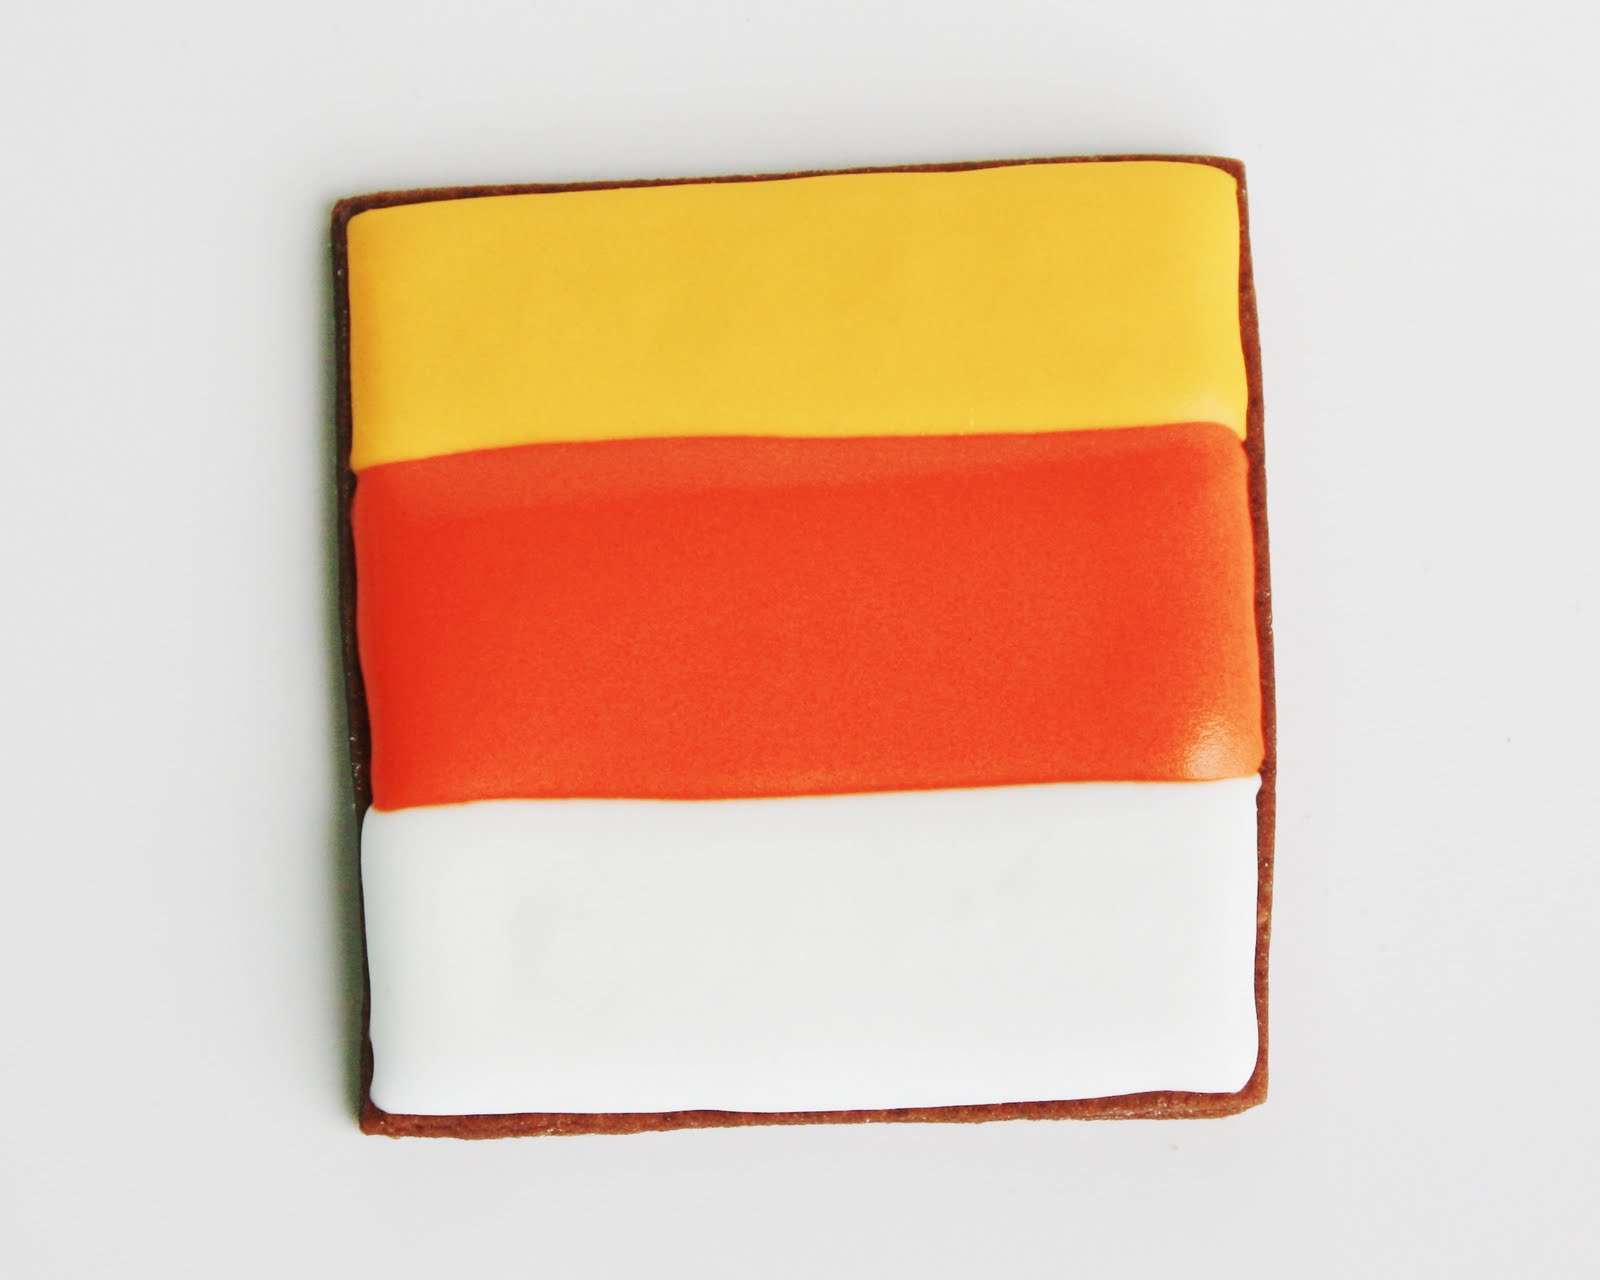
Pipe a yellow rectangle on the bottom of the square and a white rectangle on the top. Then stop. And take a break. For at least an hour. You've earned it. Piping rectangles is tough work.
Fill in the middle with orange icing. And then take another well deserved break. This time, maybe work in some snacks.
When the icing is dry, add some white dots for the eyes. Let it sit for a couple of minutes and then add the black dots on top. Use a food marker to add a nose, mouth, and eye brows. You
could skip the eyebrows, but then it would just be a square shaped candy corn cookie WITHOUT eyebrows. Nobody wants that.
HOW TO MAKE THE VAMPIRE COOKIE
Start in the middle of the hairline and pipe a swoopy number 2 with black icing. Then go back to the middle and do the opposite towards the other side. Then fill in above that line with the black icing. You can work left to right if you want, but I found that starting in the middle helped things look a little more symmetrical. And, apparently, that's important to me. Let it dry for 30 minutes. Or longer if you accidentally added way too much black food coloring and you're real nervous now that it's going to bleed into any color it comes in contact with. (Hypothetically, of course.)
Fill in the rest of the square with that light pinkish-peach color. And let that dry for another good chunk of time.(And secretly be SO GLAD that the black coloring seems to be staying exactly where it should be.)
Pipe the white dots for the eyes, and add black dots on top. Pipe a little dot with the face-colored icing for the nose. I drew the mouth on with a food marker, but next time I would just get up the gumption to mix an insanely small amount of red for the mouth. I think it would look better if it was thicker. Anyway....after you do whatever you choose to do for the mouth, add some teeth. I just piped little dots, and then drew them down into a point with a toothpick. Done and done.
HOW TO MAKE SQUARE PUMPKIN COOKIES
I LIKE these guys. I didn't thing I was going to, but they surprised me. Start out by piping orange vertical stripes on your square cookie. Try to keep the spaces the same width as the lines. It helps if you scratch out the dimensions with a toothpick on the first one. At least, if you are spatially challenged like I am. Let those dry for an hour, or until they've lost their shine.
Then fill in the remaining spaces. And wait for those to dry. I know, the waiting is getting old. But this is the last time. I promise.
For the eyes, I piped an upside down "u" shape first, and then added a tiny amount to the middle so that it would still retain a mostly crescent shape. (Icing is SO TRICKY sometimes, isn't it?) Pipe tiny little triangles for the nose. And then do the mouth. A little advice, unless you're using thick icing, make sure that the space you leave for the teeth is actually bigger than you want them to be. My icing kind of slid into that space and made the teeth smaller than I had planned. Which turned out okay this time. I mean, who wants giant teeth? Not me, that's for sure. But if YOU or your pumpkins do, that's totally cool. Do what you want.